Instructions
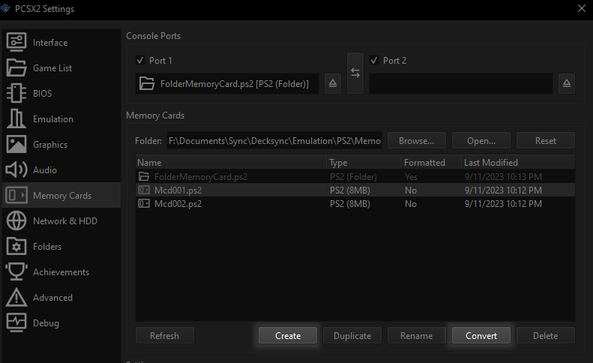
Your Vib-Ripple save data must be stored as a folder Memory Card.
Use PCSX2 to convert an existing Memory Card file to a folder, or create a new one (selecting Folder). You can convert it back to a file afterwards if needed. This menu is under Settings -> Memory Cards.
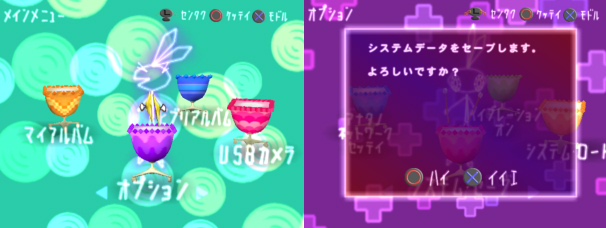
You may want to back-up any existing Vib-Ripple save data before messing with it. The selected album slot will be completely overwritten.
Initialize a save file for Vib-Ripple if you haven't. Play a level and save, or select Option (purple drum) and then System Save (red drum) ingame.
After using the tool to generate your album, shut down the game if it's running, and copy the contents of the .zip to your Memory Card folder, overwriting everything. You should now see your album appear under My Album (Orange drum).
If your album doesn't appear, try ending emulation and booting the game again. Verify that BISCPS-11032SYSTEM (save data) and BISCPS-11032EXTER0X (album data) exist in your Memory Card folder. Make sure you have the right Memory Card inserted in Port 1 in PCSX2 (right click on them to insert). If your album still doesn't appear, try finishing and copying the first level to an album and overwriting that with your custom one.

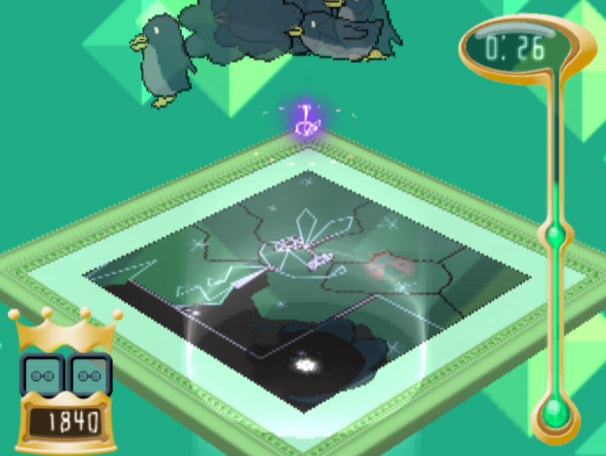
The level data and thumbnails need to be generated by the game. Choose your image and select ペタキャラ to place Petacharas on the image. Press Start to finish. Shrink [R2] and hide them in the corner if needed.
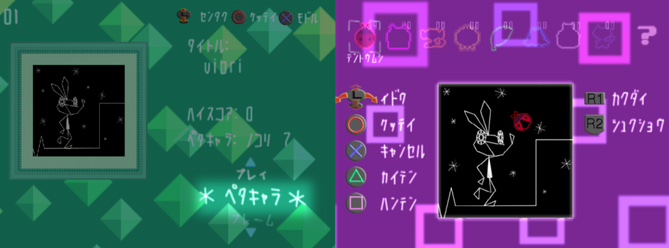
This tool also lets you add Petacharas to your save file in case you don't have any. The default is a ladybug. The index goes from 0-179. There are 9 color columns of 20 rows each in-game, so the red column starts at 0, the pink at 20, and so on.